Traditionally, people have been choosing Skype as their go-to software when it comes to telecommunications. But while it’s a great easy-to-use app, it also comes with certain limitations, like having to pay for some essential features or the unnecessary complicated process of changing your Skype name. If you’re considering migrating from Skype to a different video conference service, take a look at its biggest competitor Zoom. The main reasons to choose it over other software include the ease of use, cheap price, and of course the fact that only one person needs to download the software in order to create the meeting. Everyone else can simply follow the link and jump on it without any hassle.
How To Set Up Zoom
By far the most attractive feature that Zoom has is the user ability to join a meeting without having to install any software or go through the registration process at all. However, when you’re the one creating a Zoom meeting you will still have to set it up and invite other participants. In order to get started with setting up Zoom, follow these steps:
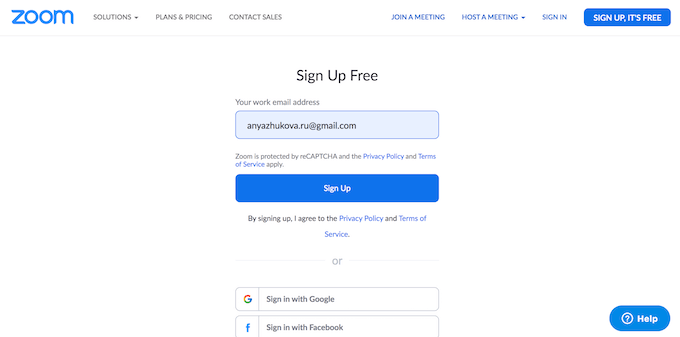
Head over the the app’s main website and create an account. On the website, click on the Sign Up button in the upper right corner, enter your email, or use your Facebook or Google account to sign in.
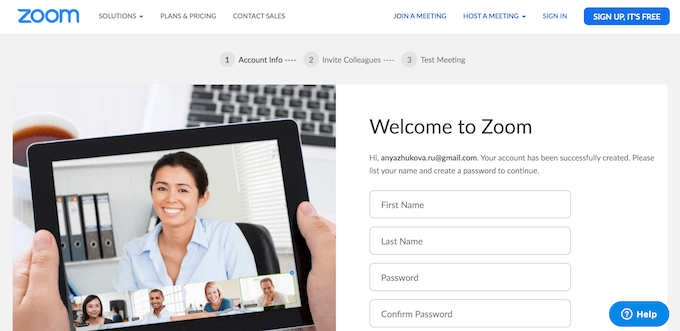
Once you confirm your email address, follow the link back to Zoom’s website and enter your contact details.
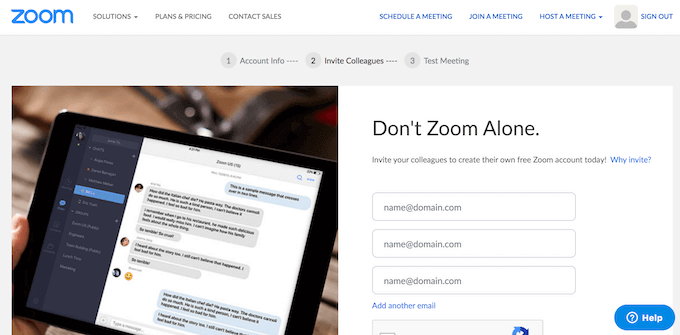
The next screen will take you to the Invite Colleagues page, where you can invite people to join your Zoom contact list. You can either fill in their details or skip this step to do it later.
The next step is starting your first meeting to test the software. Click the Start Meeting Now button on the screen, and it will prompt the app’s download.
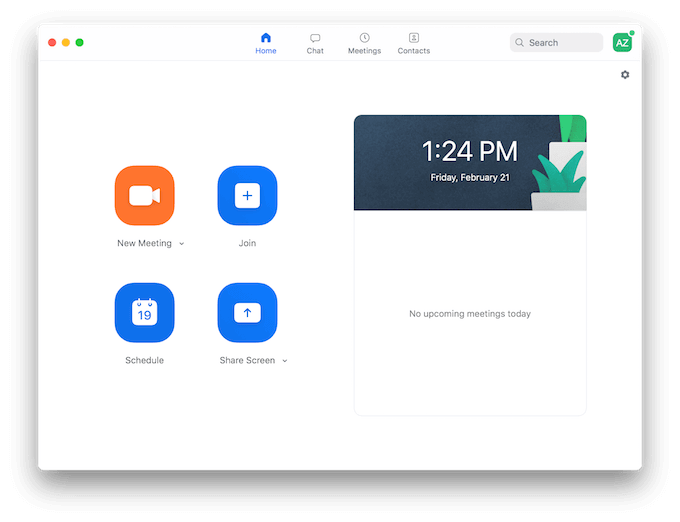
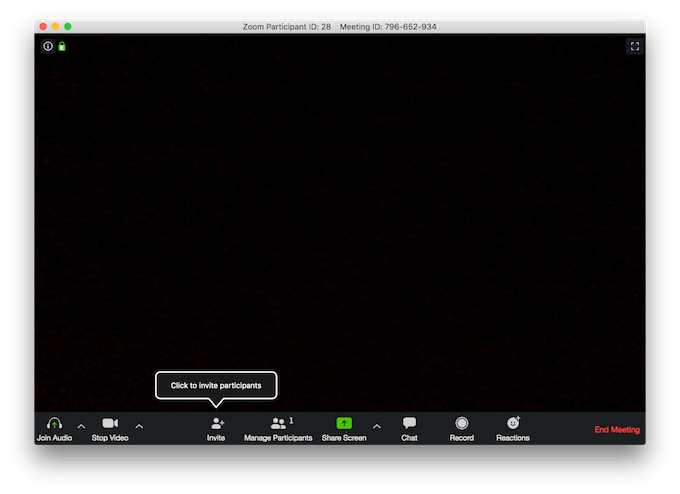
Once the download is finished, open the app and sign into your account. You will then be presented with options to start a new meeting, join an already existing meeting, schedule a meeting, or share a screen with your contacts.
When you finish your first Zoom video conference, you can start using the app fully. As we mentioned before, one of the biggest advantages of using Zoom is that other users don’t have to download the app or register on the website to join your meetings. When you sign up for Zoom, you automatically get the Basic Plan. It’s free and includes unlimited number of meetings that you can start or join, no time limit when it comes to one-on-one meetings and a 40 minute limit on meetings with 3 to 100 people. You also have an option to upgrade to a Pro, Business, or Enterprise plan starting at $14.99 per month per person.
How to Use Zoom Like a Pro
When you start using Zoom, you’ll see how intuitive the app is and how easy it is to set up and organise video meetings using this software. However, there are a few essential tips that you can use to make better use of this app and make your teamwork even more efficient.
Record Your Meetings For Future Use
Zoom allows you to record your video calls and save them for future use. This is a feature that you’ll find handy for sharing the contents of your meetings with people who couldn’t attend them. You can choose to save the video locally on your computer or in Zoom’s cloud storage. You’ll find the option to record and save your call in your desktop and web app under My Meeting Settings.
Create Your Meeting’s Attendance Sheet
With Zoom you can generate every meeting’s attendance sheet and keep it for future reference. You will find that information in the report automatically generated after your call is finished. In order to find that list, go to the Zoom Meetings tab, and search for Reports. Keep in mind that in order to get the attendee list you’re required to be the host of that meeting.
Use The Annotation Tool While Screen Sharing
In addition to being a great video communication software, Zoom is also an excellent screen sharing app. In addition to the ability to see each other’s screen, thanks to the annotation tool, Zoom users can draw on the displayed screen and write comments by highlighting the important parts of it. That way you can give each other instant feedback on the issues discussed. To access that tool while screen sharing, click on View Options on the top of the screen and choose Annotate.
Use Keyboard Shortcuts
If you want to save time and become a power user, learning keyboard shortcuts is always a great place to start. Zoom is no exception to that rule. If you use this app on a regular basis, these few shortcuts will save you lots of time.
Cmd + I (for Mac) or Alt + I (for Windows) will take you straight to the Invite window.Cmd + Ctrl + M (for Mac) or Alt + M (for Windows) will mute everyone at the meeting (if you’re the meeting host).Cmd + Shift + S (for Mac) or Alt + Shift + S (for Windows) will begin screen sharing.
Zoom vs Skype
While both Skype and Zoom are great collaboration tools for remote teams, neither of them is perfect. Meaning you might have to try both and see which one works better for you and your team specifically. The general consensus here is that while Skype has more recognition among businesses, Zoom is actually a better (and cheaper) tool to use for those teams that require frequent video meetings and chats. So if you’re looking for an app for day-to-day communication, we recommend giving Zoom a try. If you’ve already made the choice what video communication software is best for you, tell us: are you team Zoom or team Skype? Share your thoughts and opinions in the comment section below.

